Summary:
What Happens Before Your Roof Installation Begins
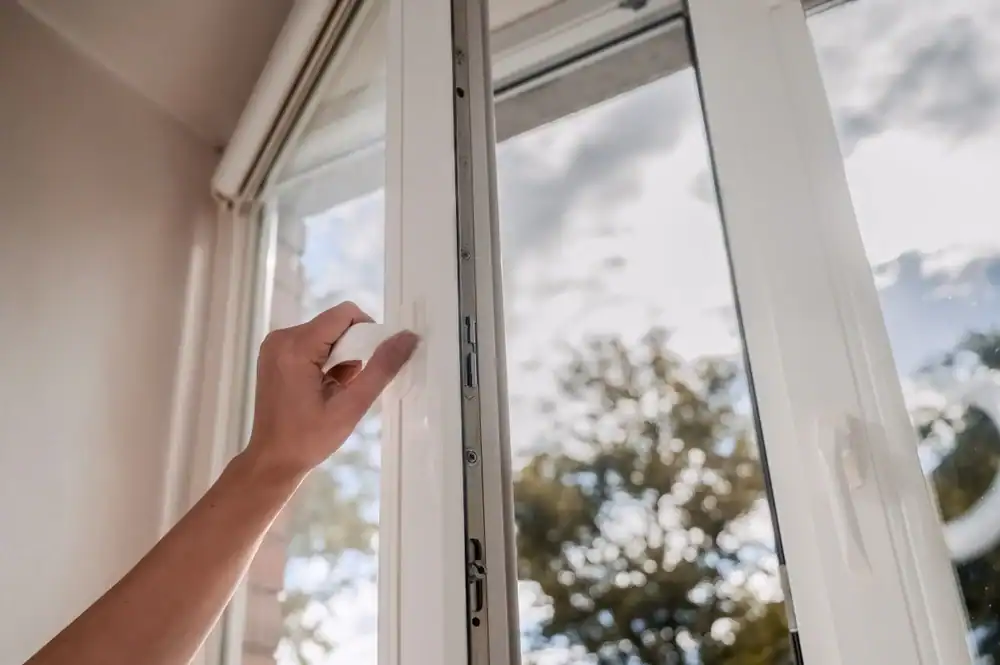
The roof installation process actually starts weeks before anyone sets foot on your roof. We conduct a thorough inspection, measuring your roof and assessing the current condition of everything from shingles to decking. This isn’t just about getting an estimate—it’s about identifying potential issues that could complicate the installation.
During this phase, you’ll also select your roofing materials and finalize details like permits and scheduling. We handle the permit process for you, but this can add several days to your overall timeline. The key is choosing your shingle color and style early, because once materials are ordered, changes become expensive and time-consuming.
How Long Does Roof Installation Planning Take
Most homeowners underestimate the planning phase, but it’s crucial for a smooth installation. From your initial consultation to installation day, expect 1-3 weeks for a typical residential project. This timeline includes the inspection, estimate approval, material ordering, and permit processing.
Weather plays a huge role in scheduling. Maryland’s Eastern Shore experiences everything from coastal storms to intense summer heat, and we won’t work in unsafe conditions. We provide a realistic timeline that accounts for potential weather delays, especially during storm season.
The planning phase is also when we discuss logistics like dumpster placement, protecting your landscaping, and coordinating with neighbors. We walk you through these details upfront to avoid surprises on installation day. If your contractor seems rushed or vague about timing, that’s a red flag—professional installation requires careful planning.
Material availability can also affect your timeline. Popular shingle colors and styles sometimes face supply chain delays, especially during peak roofing season in spring and early summer. This is why working with contractors who maintain relationships with local suppliers makes a difference—we can often secure materials faster and avoid project delays.
Preparing Your Home for Roof Installation Day
The day before installation, we deliver materials and position a dumpster on your property. This is when preparation becomes critical for both your property and your daily routine. Clear your driveway and ensure easy access for trucks and equipment. Move vehicles to the street and relocate any outdoor furniture, grills, or decorations that could be damaged by falling debris.
Inside your home, remove pictures and fragile items from walls, especially on the top floor. Roof installation creates significant vibration that can knock items off shelves or cause wall hangings to fall. Cover furniture in your attic if you use that space for storage, and expect some dust to filter down despite our precautions.
Communication with neighbors is often overlooked but important. Professional roofing work starts early—typically around 7 AM—and involves significant noise. A simple heads-up to immediate neighbors shows consideration and can prevent complaints that might complicate your project.
We also discuss access points and safety measures with you beforehand. As professionals, we establish clear boundaries around your home, use safety equipment, and protect your landscaping with tarps. If your contractor skips these preparations, you’re working with someone who cuts corners—and that’s not who you want installing your roof.
The Roof Installation Process: What Happens Each Day
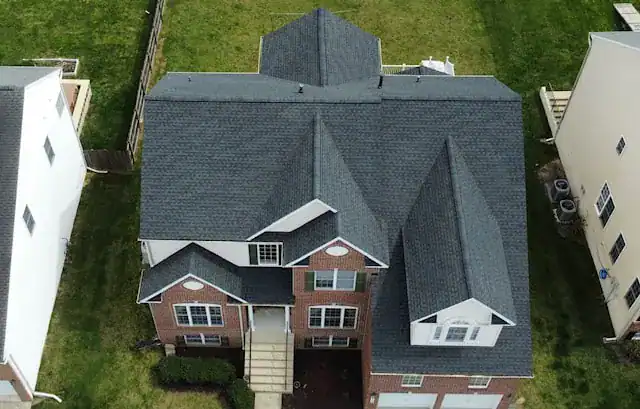
Most residential roof installations in Maryland take 1-3 days, depending on your home’s size and complexity. Day one typically involves removing the old roof, inspecting the decking, and beginning the new installation. Our crews work systematically, starting from one section and completing it before moving to the next.
The actual installation follows a specific sequence: old material removal, decking inspection and repair, underlayment installation, drip edge placement, and finally the new roofing material. Each step builds on the previous one, and shortcuts in any phase can compromise your entire roof’s performance. This is why the cheapest bid often costs more in the long run.
Day One: Tear-Off and Deck Inspection
Installation day starts with protecting your property. Our crews cover landscaping, siding, and outdoor equipment with tarps before beginning the tear-off process. The old roofing materials get stripped away systematically, starting from the ridge and working down to prevent damage to the roof structure.
This is the messiest part of the entire process, but it’s also when hidden problems get discovered. Once the old shingles are removed, we can inspect the roof decking for damage, rot, or structural issues. Don’t be surprised if we find problems that weren’t visible during the initial inspection—this is normal and actually shows we’re doing our job properly.
Any damaged decking gets replaced before the new roof goes on. This might add to your cost, but it’s not optional. Installing a new roof over compromised decking is like putting new tires on a car with bent rims—you’re setting yourself up for future problems. We show you any issues we find and explain why repairs are necessary.
The tear-off also reveals the condition of your home’s structure, insulation, and ventilation. We use this opportunity to assess your attic ventilation and recommend improvements that will extend your new roof’s life. Poor ventilation is one of the leading causes of premature roof failure, especially in Maryland’s humid climate.
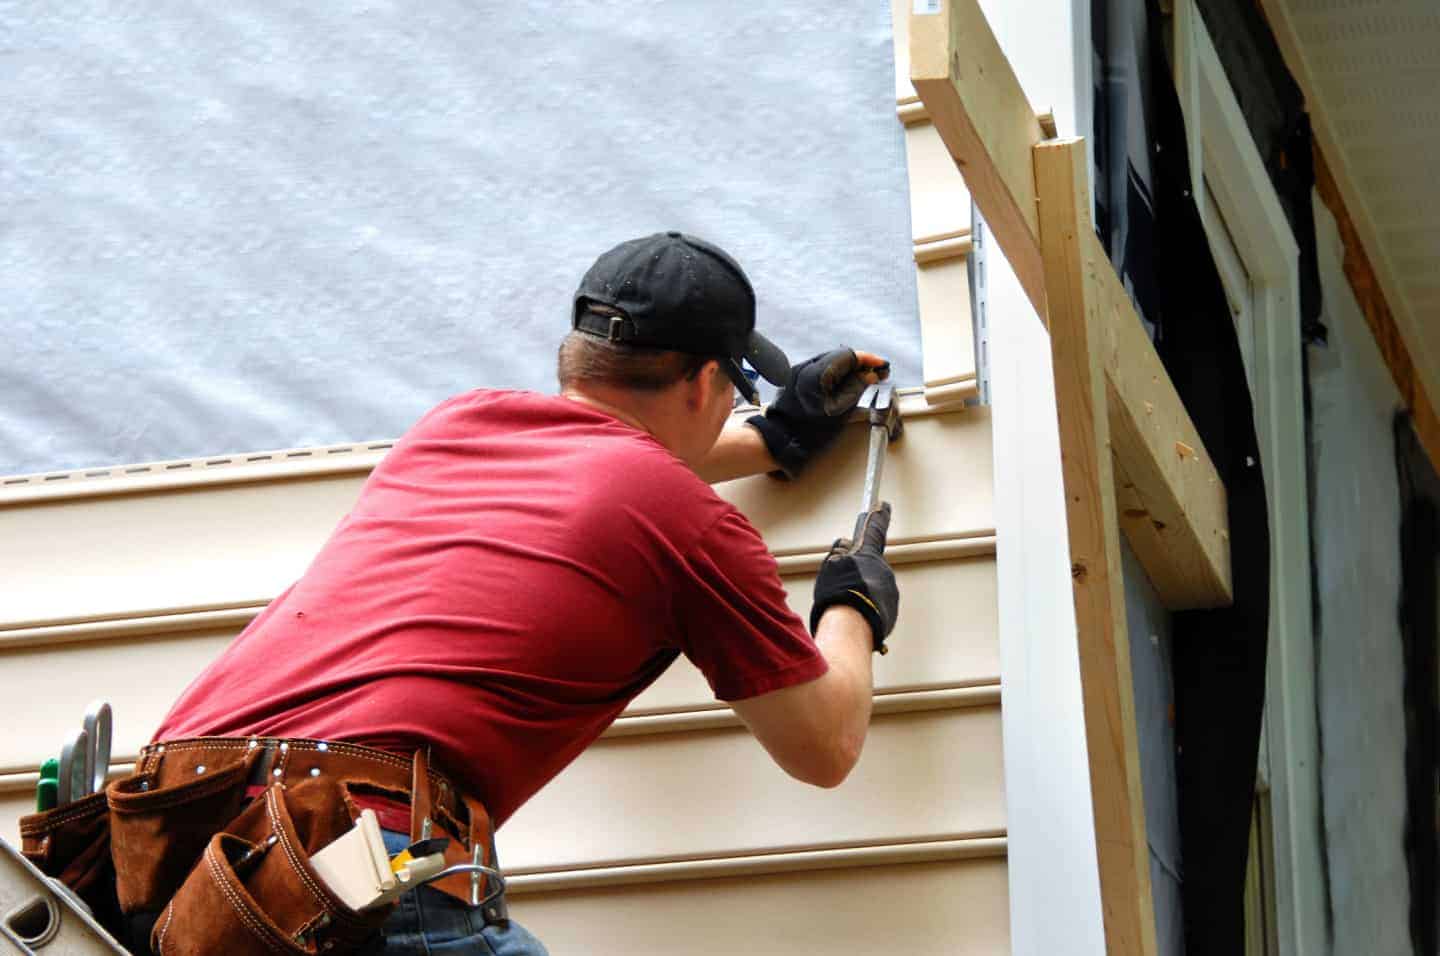
Installation Day: Building Your New Roof System
Once the decking is solid and any repairs are complete, the new roof installation begins with the underlayment—a critical water barrier that goes directly onto the decking. We use high-quality synthetic underlayment that offers superior protection compared to traditional felt paper. This layer is your roof’s first line of defense against water infiltration.
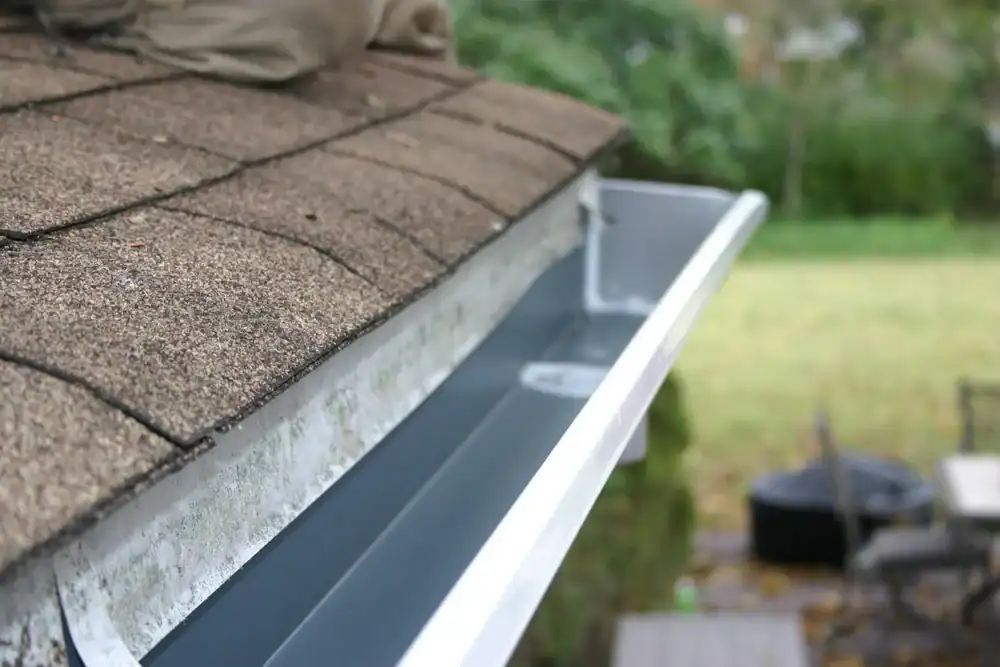
Next comes the drip edge installation along the roof’s perimeter, followed by any necessary flashing around chimneys, vents, and valleys. These details might seem minor, but they’re where most roof leaks develop. We take extra time with flashing because we know it’s cheaper to do it right the first time than to come back for repairs.
The actual shingle installation starts at the bottom edge and works upward, with each row overlapping the one below it. Our crews follow manufacturer specifications for nail placement, overlap, and spacing. These details matter because improper installation can void your warranty and lead to premature failure.
Ventilation installation happens throughout the process, with intake vents at the eaves and exhaust vents near the ridge. Proper ventilation prevents moisture buildup that can lead to mold, ice dams, and reduced energy efficiency. Maryland’s climate makes ventilation especially important—hot, humid summers and cold winters create challenging conditions for roofing systems.
What to Expect After Your Roof Installation is Complete
Professional roof installation doesn’t end when the last shingle goes on. We conduct a thorough cleanup, removing all debris and conducting a final inspection to ensure everything meets quality standards. We also provide you with warranty information and maintenance recommendations to protect your investment.
We walk you around your property to show you the completed work and explain any specific maintenance your new roof requires. We also provide you with documentation for warranty claims and insurance purposes. This attention to detail separates professional contractors from those who just want to collect payment and move on.
Your new roof represents a significant investment in your home’s protection and value. When you work with experienced professionals like us at Bay Area Exteriors, you get not just quality installation, but the peace of mind that comes from working with Maryland’s Eastern Shore roofing experts who understand local conditions and stand behind our work.